
Table of Contents
- Parenting manga “Sewing that also connects parents and children
- Handmade with heart! Delight your family with Dad’s sewing!
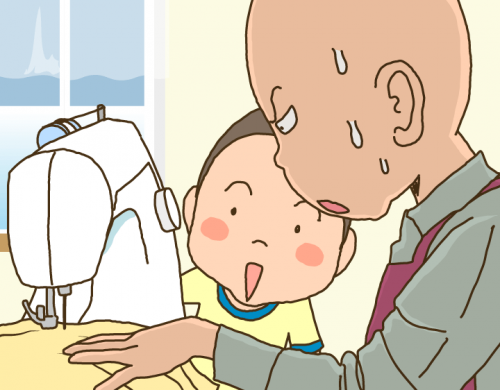
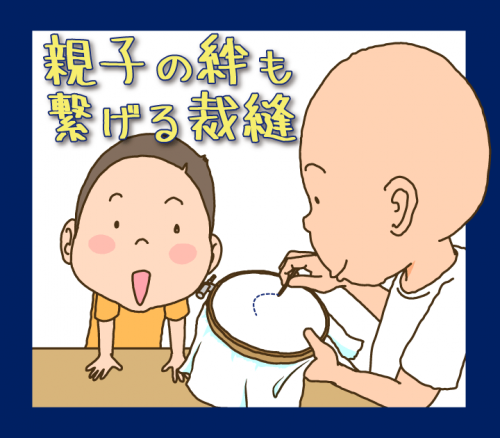
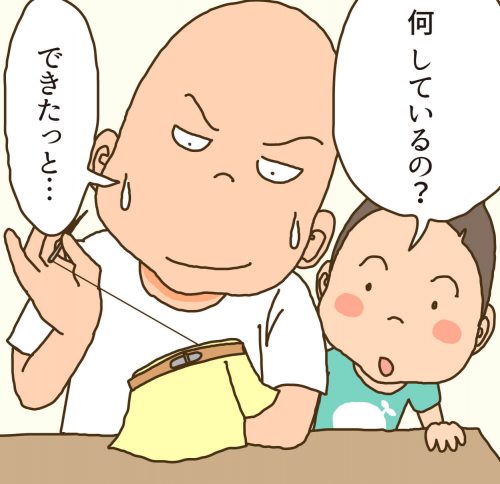
Parenting manga “Sewing that also connects parents and children
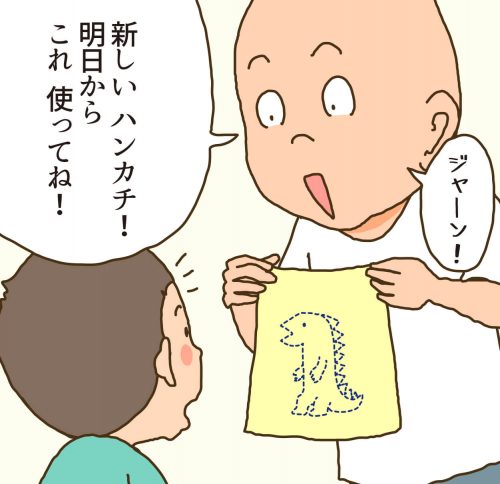
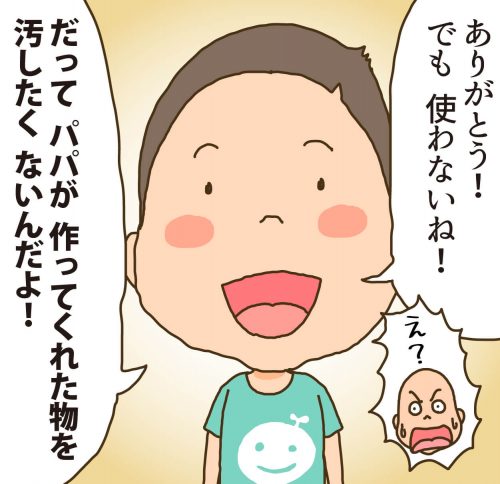
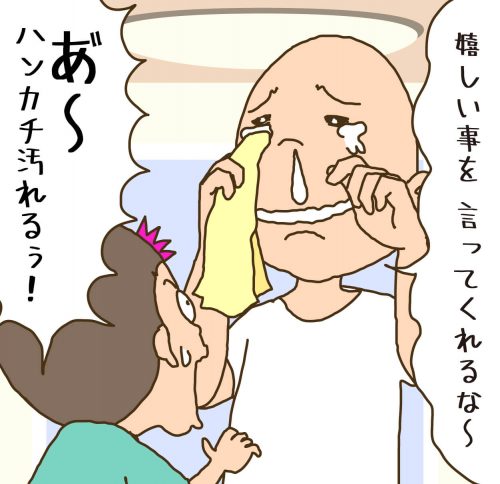
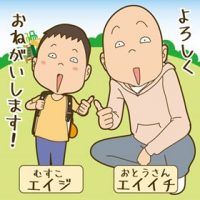
Profile
Eiichi
After working for a design company in Tokyo, he became a freelance illustrator. He is a hard-working father who creates animation, manga, and illustrations, including winning the Yubari International Fantastic Film Festival’s International Short Film Showcase Division Excellence in Animation Award.
Handmade with heart! Delight your family with Dad’s sewing!
Replacing buttons and elastic, making entrance goods for nursery schools, etc,
Sewing skills are something that is needed when children are young.
But the last time I held a needle was in home economics class when I was in school,
Many people rarely sew in their daily lives.
Therefore, in this issue.
Here are some of the benefits of learning sewing skills.
In the second half, the father, a sewing novice, tries his hand at making small items!
Sewing is a useful skill for life!
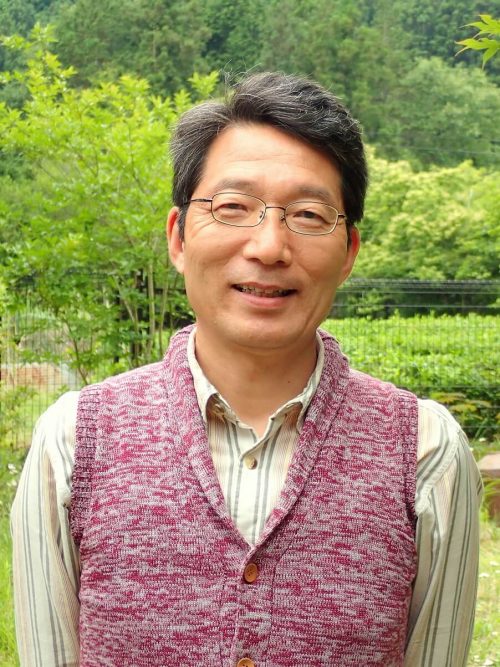
It was the early 1990s. At a time when it was difficult for men to obtain a home economics teaching license, Tadaharu Minamino, a former high school teacher, made the switch from teaching English to home economics.
We will share stories that will help even those who are not good at sewing to step forward and get started.
Toward an Era of Sewing Regardless of Gender
I became interested in home economics when I became a father myself and began taking home economics courses through a university correspondence program.
Then, around 1994, as a teacher, I began taking home economics classes. Just around the time I started teaching, it became mandatory for men to take home economics classes in junior high and high schools. One of the reasons why people in their mid-40s today are considered “ikumen” is that those who began taking home economics have children and can now use that knowledge. I feel that the coeducation of men and women in home economics was a very important turning point.
In addition, I think the reason why people over 50 years old today are not good at household chores such as sewing and cooking is because they “don’t know because they haven’t learned” in the first place. There was a saying that “men should not enter the kitchen” (laughs). I think this is the reason why people have a strong image that sewing is something that women do.
Shortly after I became a home economics teacher, a female high school junior saw the first-year students doing a cooking class with both boys and girls and said, “I like these girls. Because they will grow up in a culture where it is normal for both men and women to do housework. I was brought up learning that ‘women are supposed to do the housework,'” she said. I still vividly remember her saying, “I was brought up learning that ‘women are supposed to do the housework. She was just the last of the generation of students who took home economics classes only for women.
I am pleased to see that, little by little, men’s participation in housework and childcare is changing over these times. Men of the generation who did not take home economics are beginning to participate in household chores, such as taking up sewing and attending cooking classes after retirement. I hope that these changes will spread to the next generation, and that it will become commonplace for men to sew.
Sewing skills have many advantages!
Nowadays, it is easy to find good, inexpensive items such as accessories and clothing when one steps out on the street.
There is no such thing as having no clothes or accessories to wear if you cannot sew. Therefore, you may not often make your own accessories, reuse excess fabric, or repair things. However, the benefits of acquiring sewing skills are great.
For example, if both spouses have sewing skills when a button comes off a shirt or other item, they can quickly fix it themselves without having to rely on their partner. By applying a patch or repairing a tear, the clothes can be worn for a longer period of time.
You can also enjoy changing the buttons on your shirt to your own personal preference in order to be fashionable at work. You don’t have to burden your partner with your own particular style.
Sewing is also very useful in childcare. By making preschool goods using your child’s favorite fabrics and characters, he or she will become attached to them and cherish them. Try giving your child an original item that cannot be found in any store.
This will be a good opportunity to raise awareness of the SDGs from within the home.
The more you can do for yourself, not only sewing, but also cooking, cleaning, laundry, and other useful skills in the home for your partner and children, the more confidence you will gain. We don’t know if we will be able to live the same way we do now for decades to come. I think it is very important to have the “power to survive” to be able to do even the smallest things by yourself.
Try handmade accessories that your family will love!
Why not give your family something that you worked hard and lovingly to make, instead of a store-bought product once in a while?
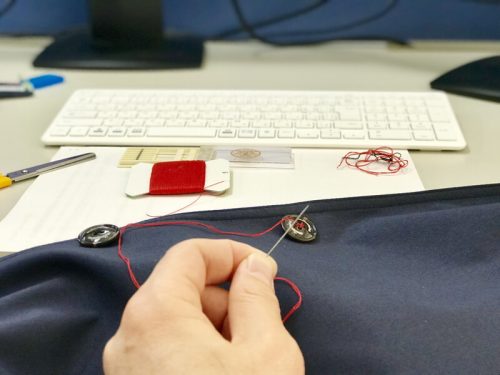
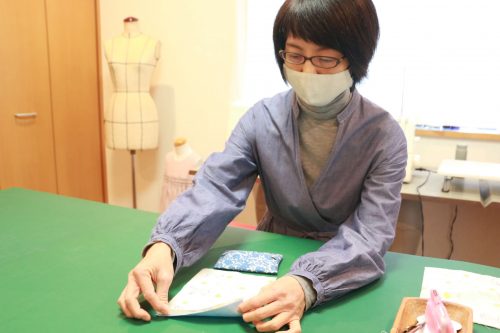
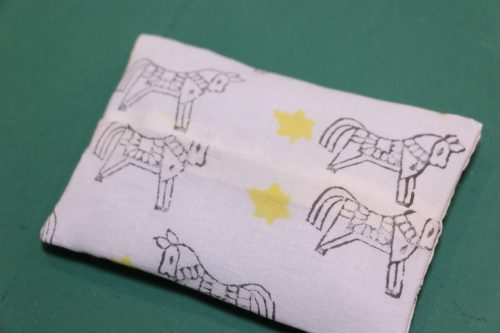
Under the guidance of Michiko Hara, who offers sewing classes in Tokyo, Daichi Yamamoto, a father of one, challenged himself to make a tissue case! Here is a report on how he made it!

Mr. Daichi.
The first step is to choose the fabric.
Mr. Daichi.
What kind of fabric should I choose?
Hara.
I think children will enjoy fabrics with patterns more than plain ones. In this case, we will use items purchased at a handmade store, but you can also make them from shirts that you no longer use. Cotton is recommended because the fabric is durable and does not stretch easily.
Mr. Daichi.
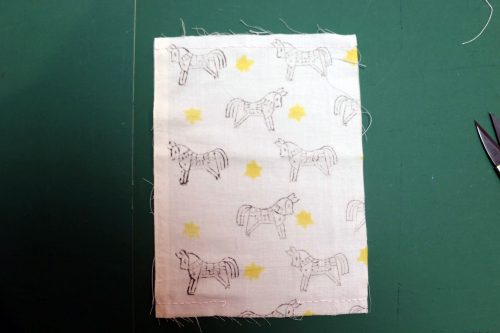
Okay, this time I will do this for my animal-loving child!
Hara.
It is also possible to use two pieces of cloth to create different designs on the front and back sides.
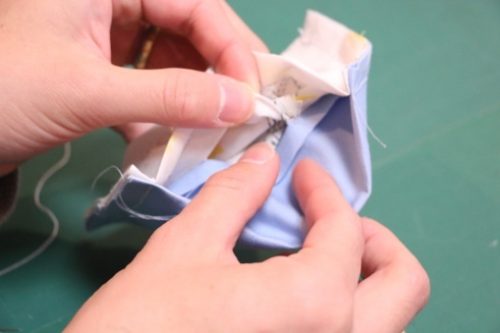
Start sewing!
Mr. Daichi.
It took me 30 minutes to sew one side (15 cm) because I hadn’t used a needle and thread in a long time. The length of the stitches is also very uneven. (Sweat).
Hara.
It’s okay if you don’t do it well. You have to do it many times to get good at it. (Laughter)
Rather than rushing to sew properly, it is better to sew carefully one stitch at a time to avoid fraying.
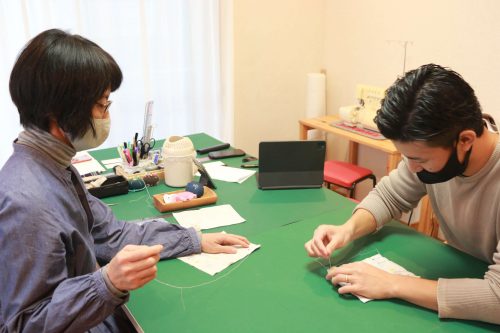
He seems to be getting used to it.
Mr. Daichi.
I’m getting the hang of it. The spacing of the stitches is getting better!
Hara.
It’s going well. Thinking about what it will look like after completion and imagining the happy smiles of your partner and children when you present it to them makes you want to work even harder.
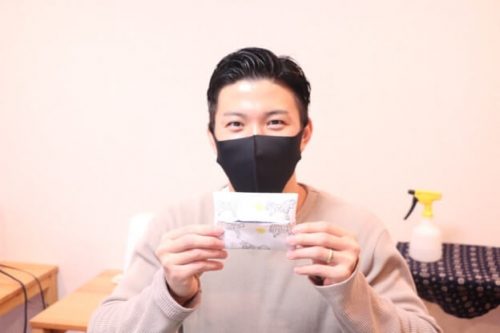
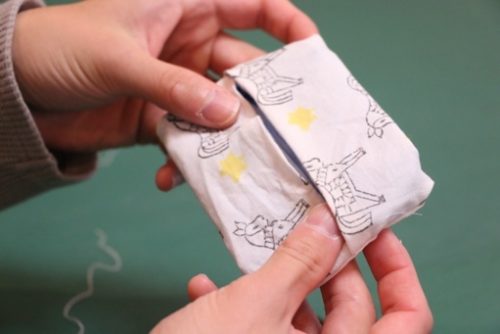
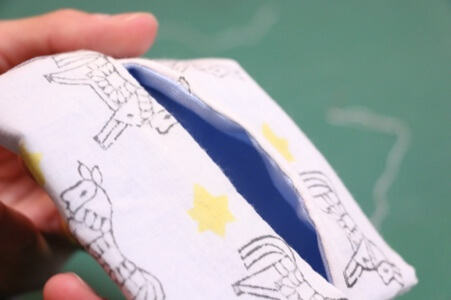
completion
Mr. Daichi.
It is now complete! It took me more than twice as long to sew as the teacher, but I think I was able to put a lot of love into it! (Laughs)
Hara.
You sewed carefully from the beginning to the end ^^ You made it well! Thank you for your hard work!
Mr. Daichi.
It was the first detailed work I have done in a long time and very difficult, but I was able to concentrate on it. I look forward to seeing the reactions of my children and wife when I show them the finished product!
With this opportunity, I think I can manage to do some hand sewing myself if I need to remove buttons or embroider names on small items. It was surprisingly easy once I got used to it, so I hope I won’t have to rely on my wife from now on.
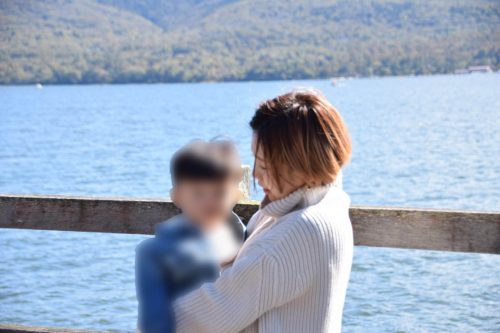
Daichi then presented the completed tissue case to his family.
How did his wife, Natsuko, and son, Yusuke (pseudonym), feel about receiving a handmade gift?
Fat Wife Natsukoi
To be honest, I think it would be cheaper and sturdier to buy a tissue case, but I still feel very attached to it and want to take good care of it when I think it was made for me. I think my housework level has improved, so I am looking forward to asking my dad to do some sewing for me in the future. What should I have him make for me this time (laughs)?
Fat child, Yusuke (pseudonym)
I’m so happy! Thanks Dad! It makes me feel like I need to take better care of things!
 The photo is for illustrative purposes only.
How to make pocket tissue
Materials and tools required
- Two pieces of cloth (T-shirts, handkerchiefs, etc. are acceptable) 20.5 cm (length) x 15 cm (width)
- Sewing and gusset needles (about 10 needles)
- Yarn in your favorite color
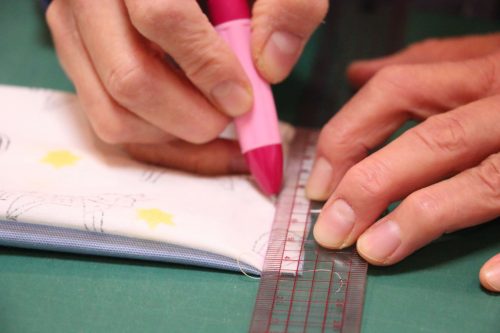
- Pen or Chaco pen, etc. for marking
- measure
- (electric) iron
Production Procedure
Please refer to the following for basic sewing methods, such as tying a knot and backstitching.
Ministry of Education, Culture, Sports, Science and Technology “Sewing (Hand Sewing)
https://www.youtube.com/watch?v=TnIQidPhXV8
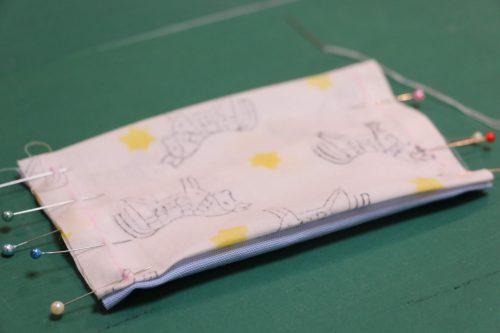
Prepare two rectangular pieces of cloth, 20 cm long and 15 cm wide.
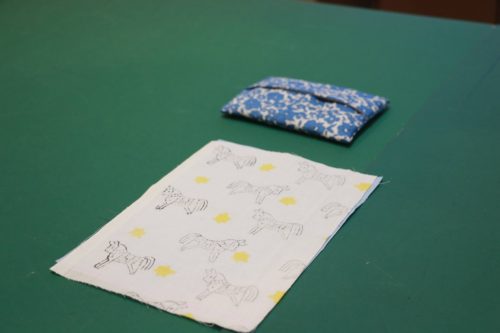
(For one piece of fabric only) Turn it inside out and draw a seam allowance line 1 cm inside the two short sides.
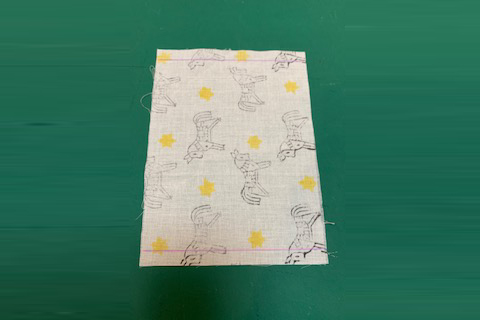
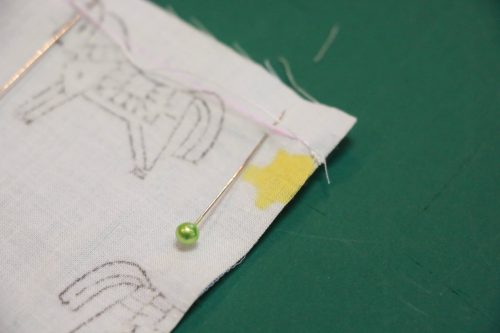
Place the two pieces of fabric on top of each other inside out (*1) and hit the gusset needle to prevent shifting.
(*1) When two pieces of cloth are layered, the surfaces of the cloth should be placed inside each other.
Stitch over one of the lines with a width of about 3-5 mm.
- It is advisable to go back and forth one or two times at the beginning of the stitching to keep it strong.
- Since parallel stitches leave spaces, we recommend backstitching for sturdy sewing.

On the other line, around the center, leave a 5 cm seam for the return opening (*3).
(*3) The area left unstitched after the fabric is sewn together in order to turn it inside out.
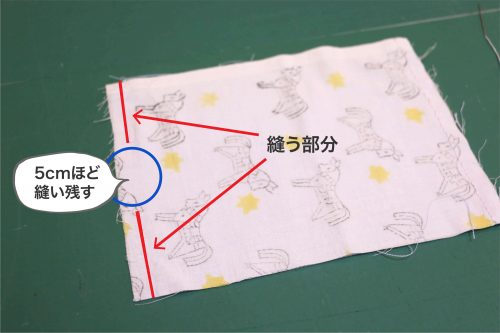
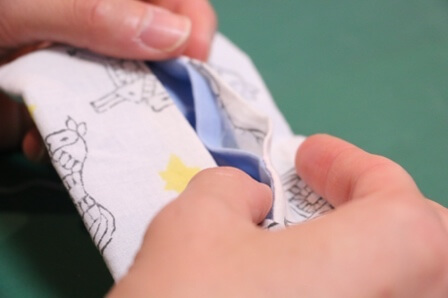
The two sides sewn together will be the opening of the tissue case when completed.
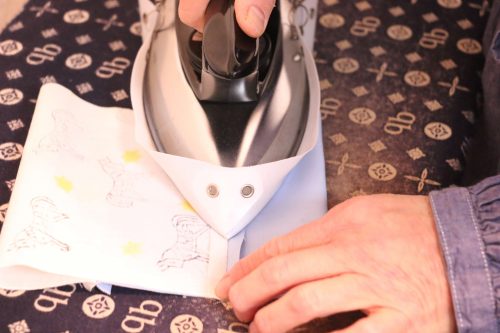
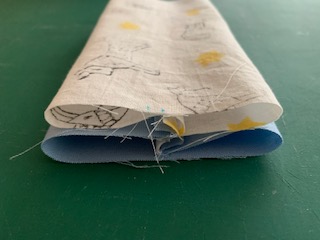
Split the seam allowance and iron over it.

Fold the insert portions inward and overlap the insert portions by about 5 mm.

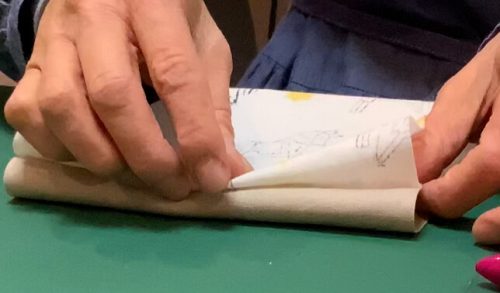
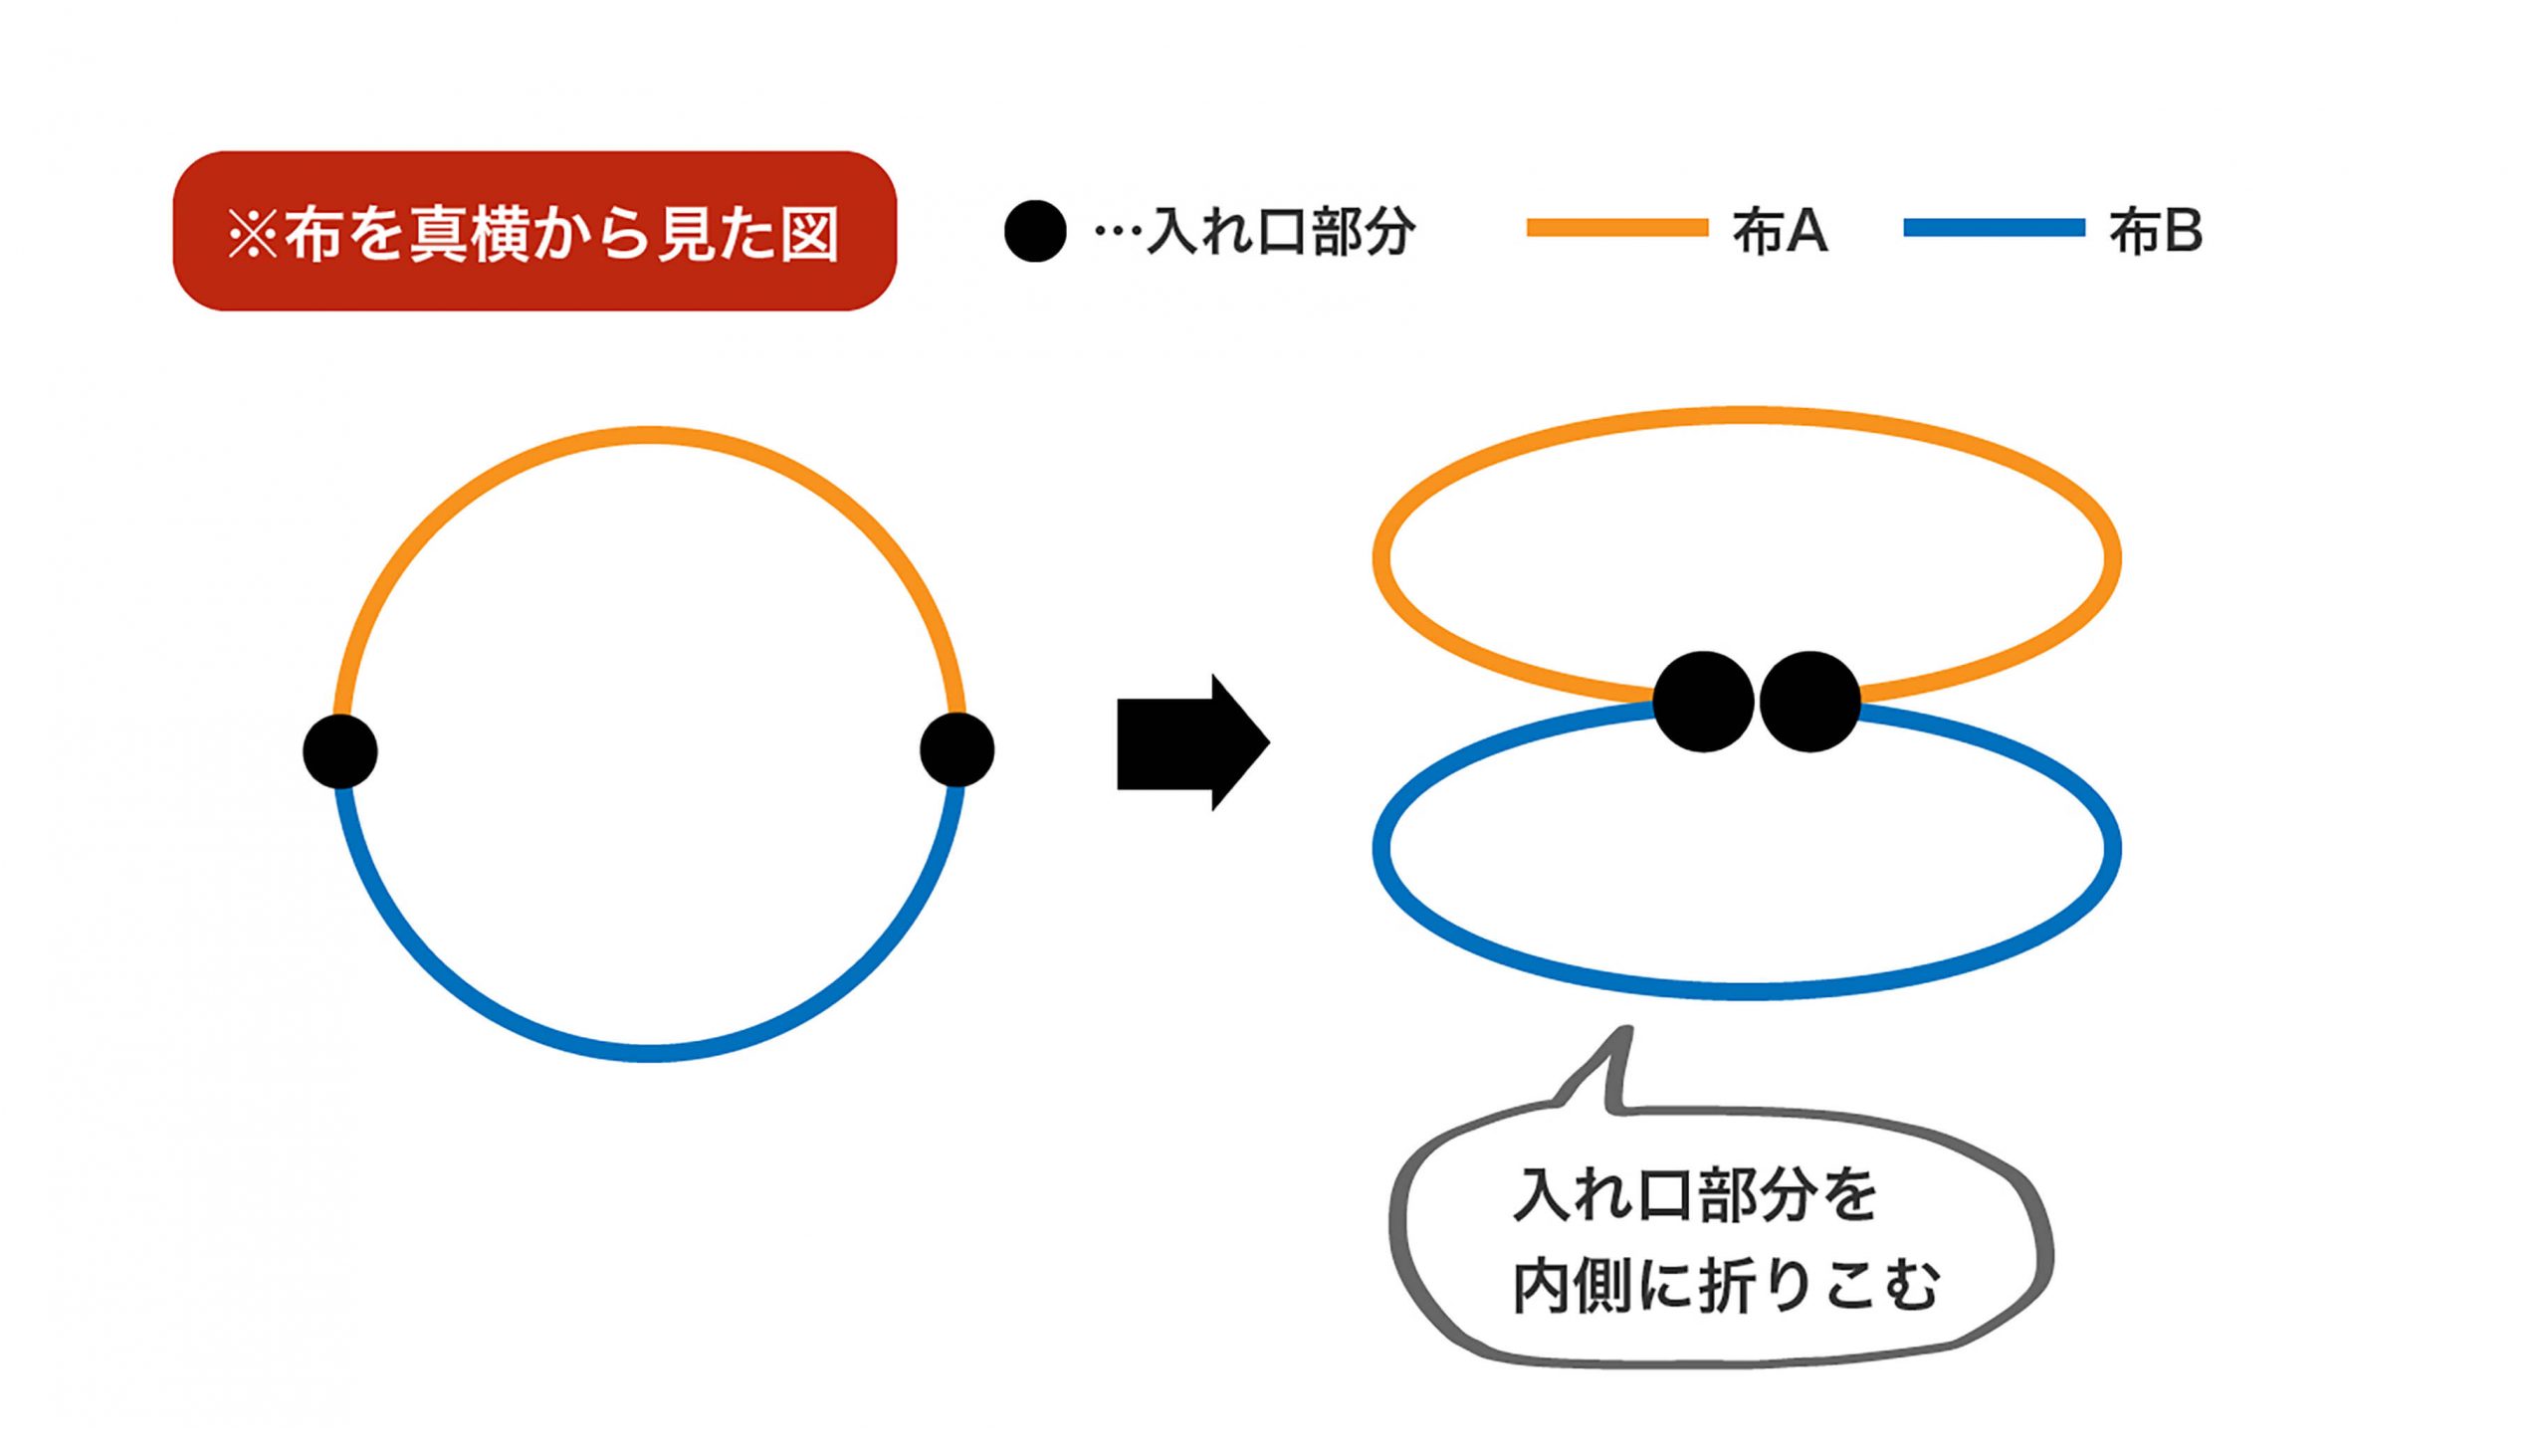
In this state, fold the cloth and secure it with a hook.
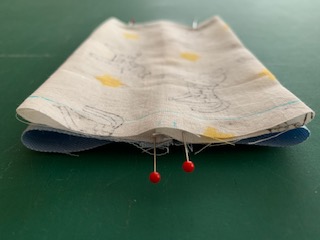
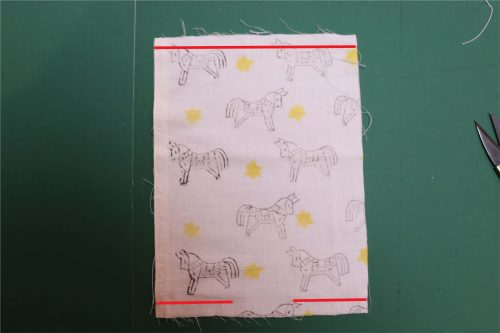
Draw a seam allowance line 1 cm inside the short edge.
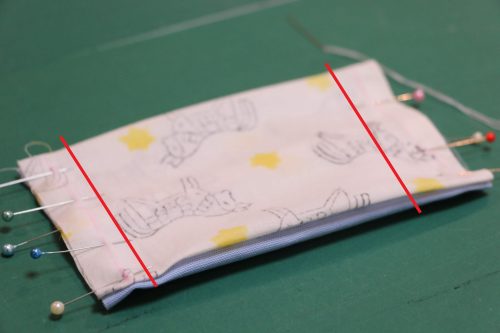
Stitch over the line.
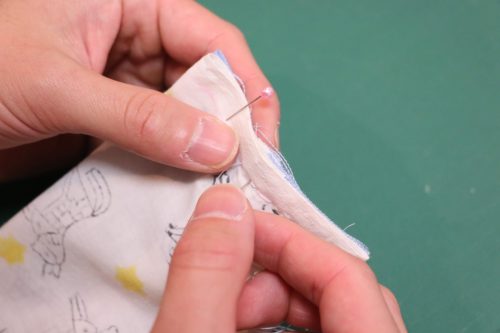
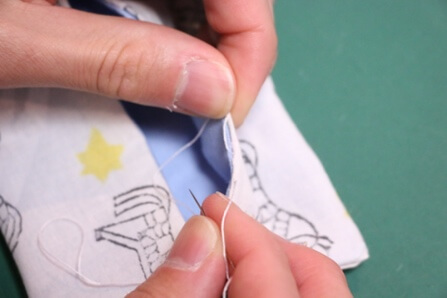
When finished sewing, turn the garment over to the front by threading your fingers through the return opening.
After turning it over, neatly trim the corners with a sharp object such as an eye hammer.
Finally, sew the open hole at the return opening.
- The seam at the back opening should be sewn with a U-shaped maki-sewn technique to avoid showing the seam.
This completes the process.
It seems that being able to sew is not only good for you, but also good for your family, environment, etc.
It may seem like a hurdle, but why not start by making simple accessories and increase communication with your family?


I have not touched a needle since my last home economics class when I was a student, so I am worried about how well I will do, but I will do my best!